-e1742971339568.png)
Quick answer: The best China tourist photography spots are not always the most famous platforms. Build your day around scene types: one recognizable landmark, one street with local movement, one food or market detail, one park or public-life stop, and one view that shows scale.
Choose spots by scene, not by fame
A famous location gives context, but it rarely tells the whole story. Pair it with a nearby place where daily life is visible. In Beijing, the Forbidden City area can pair with red walls, hutong lanes, temple edges, or public parks. In Shanghai, skyline views become stronger when balanced with lane houses, ferry movement, old shop signs, and riverfront walking paths. In Xi’an, city walls and drum towers feel richer when paired with food streets and neighborhood details.
This scene-based approach makes your photos less generic. It also helps travelers who do not want to chase the exact same angle as everyone else.
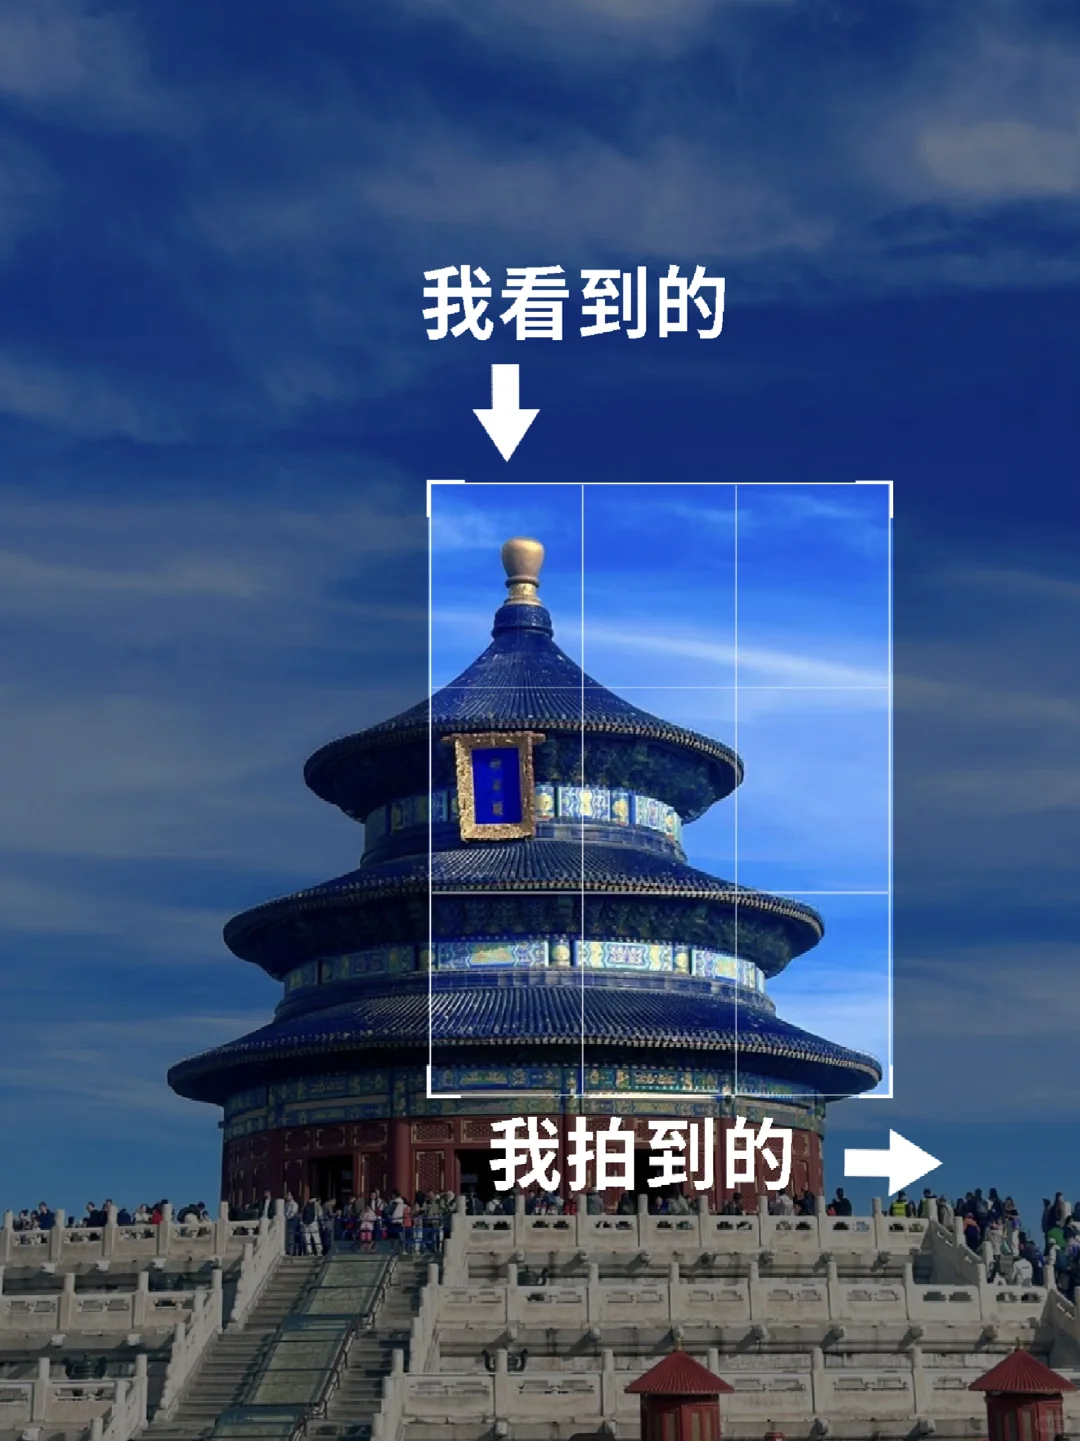
Landmarks: shoot the movement around them
When a landmark is crowded, stop trying to erase the crowd. Use people, shadows, gates, railings, and waiting lines as part of the story. A wide shot can show scale; a side angle can show how visitors move; a close detail can show material and age. At heritage sites, the strongest image may be a roofline, a stone lion, a doorway, or the red wall beside the famous building.
Arrive early when you need clean space. Arrive late when you want atmosphere. Do not stand in the middle of stairs, temple paths, ticket gates, or narrow alleys for a long pose.
Street texture: where China starts to feel specific
Street photographs become stronger when they show ordinary systems: delivery bikes, breakfast carts, fruit shops, tea cups, public seating, metro signs, shared umbrellas, community notice boards, and people resting in shade. These details are not filler. They are how a city explains itself.
Look for edges rather than centers: the side of a market, the corner near a park, the lane behind a famous street, the ferry exit, the metro entrance, the small shop beside a large mall. Edges often show more local rhythm than the obvious viewpoint.
Food and markets: photograph respectfully
Food scenes are one of the easiest ways to make a China album feel alive. Steam, hands, bowls, baskets, counters, and queues all photograph well. Ask before close-up shots of vendors, buy something if you spend time at a stall, and keep the line moving. A bowl on a small table can be a better memory than a staged pose in front of a sign.
For night markets or food streets, watch reflections, smoke, plastic stools, payment QR codes, and the way people share tables. These details show how food fits into daily movement.
Parks, temples, and cultural spaces
Parks are excellent for public life: dancing, tai chi, chess, tea, families, shade, and slow walking. Temples and memorial spaces need more restraint. Follow posted rules, avoid intrusive portraits, and never treat worshippers or sacred objects as props. If photography is restricted inside a hall, keep the camera down and use the exterior, courtyard, roofline, or surrounding street instead.
This respectful approach does not make the photos weaker. It usually makes them better because you pay attention to atmosphere rather than forcing a shot.
Five dependable spot types across Chinese cities
- Gate or wall: good for scale, color, and historical texture.
- Old lane or side street: good for daily rhythm and small details.
- Food counter or tea table: good for memory, steam, and hands.
- Park edge: good for local life without rushing.
- Bridge, ferry, or skyline view: good for showing city scale and movement.
Use this list as a planning tool, not as a script. The right China photography spot is the one that helps you notice the city more honestly.
Protect light, permission, and patience
Good travel photography in China depends on patience as much as location. Morning and late afternoon usually give softer light for walls, temples, streets, food stalls, and river scenes. Ask before photographing people closely, especially vendors, children, performers, or private moments. In famous places, step away from the main platform and look for edges: a doorway, a reflection, a hand preparing food, or a quiet bench. For city-specific context, continue with our Beijing first visit guide and Shanghai three-day itinerary.