-e1742971339568.png)
 Sophia
August 3, 2025
Sophia
August 3, 2025
Last week, I felt a rush of excitement as I followed a unique travel photography guide that promised more than just ordinary snapshots. Instead of wandering aimlessly looking for the usual poses, I joined a group famously known as “Ant Photo Tours,” where each step was carefully planned for delightful and fresh travel photo ideas. My curiosity was piqued by their promise of a 300-point tour plan and a free photography course, perfectly suited for anyone eager to sharpen their travel photography skills without pressure.
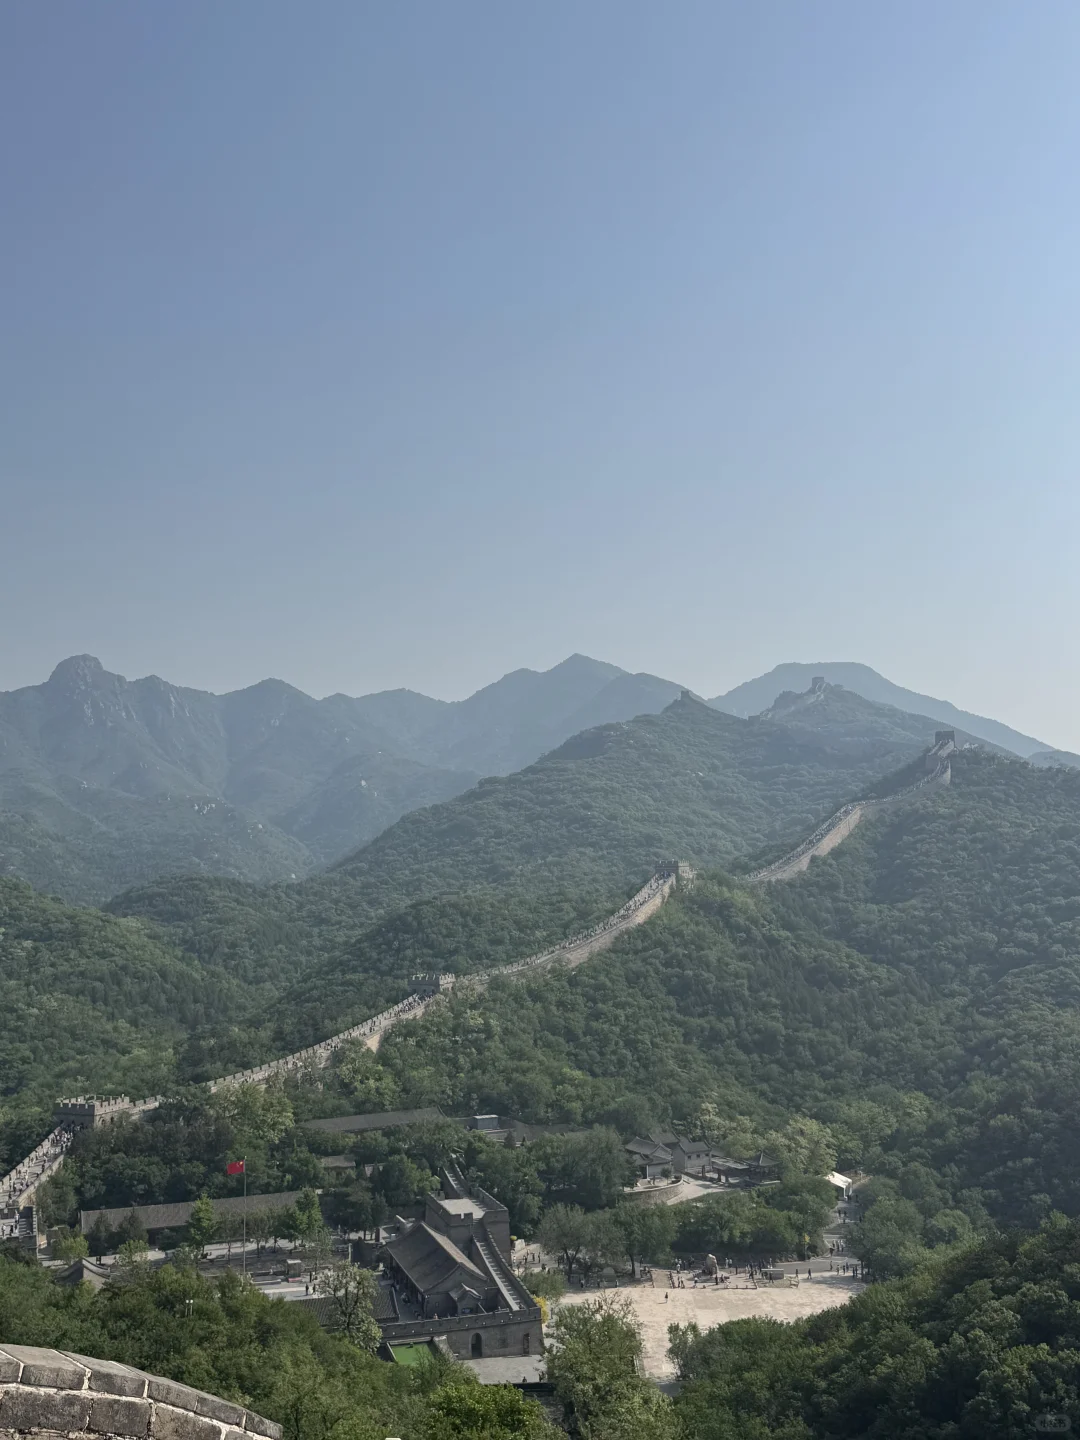
From the start, the atmosphere was lighthearted. Everyone seemed equally eager to explore the six heavens — a set of magical locations that offered different backdrops and angles. My excitement grew as we moved from one remarkable scene to another, capturing moments that didn’t feel posed but alive and spontaneous.
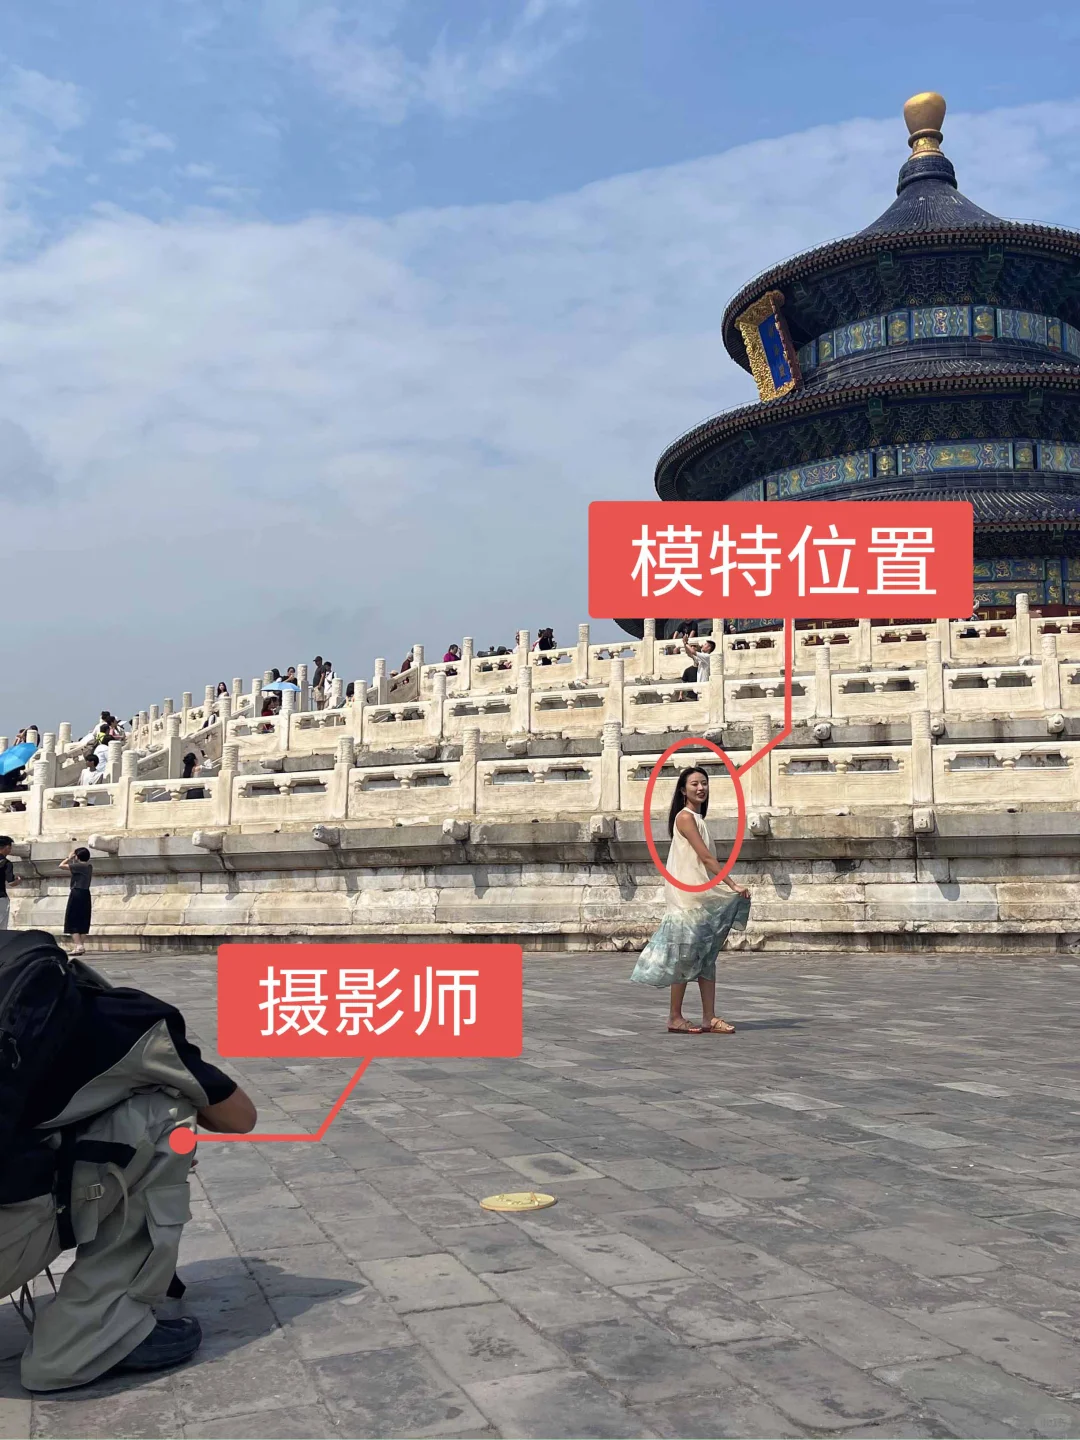
One of the most fascinating parts of this journey was experiencing various travel photo ideas introduced by the guides. The emphasis wasn’t on perfect poses but on expressing yourself within the landscape. I remember standing beneath blooming cherry trees, experimenting with candid shots, and laughing at natural moments that the camera caught.

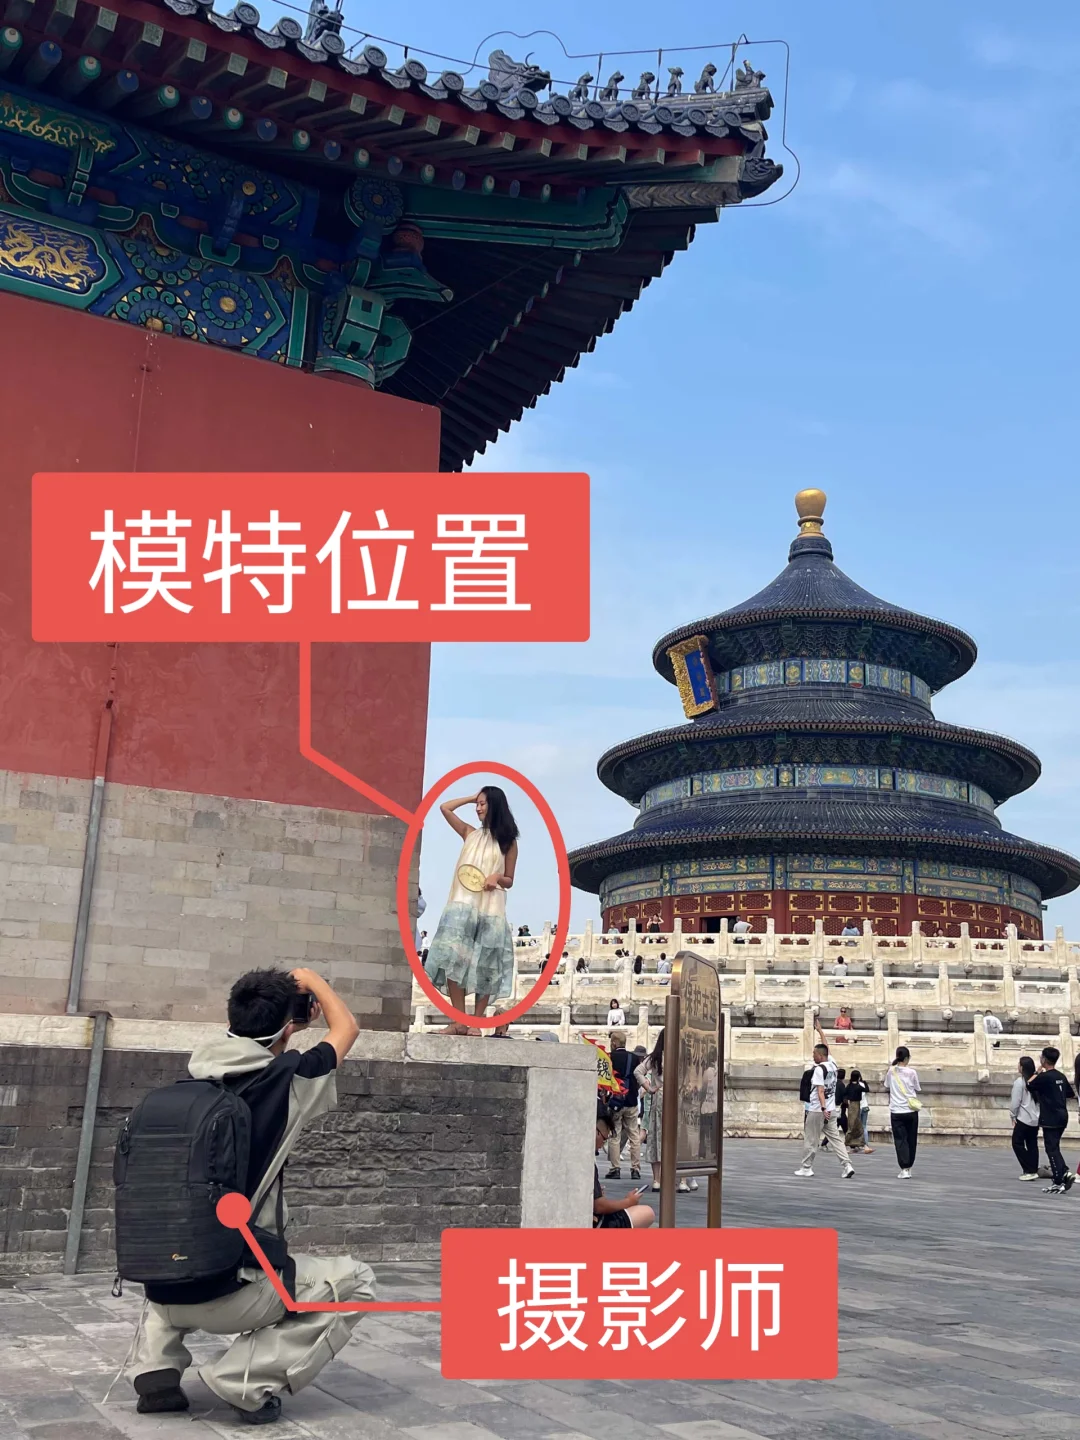
With guidance from the Ant Photo team, I tried playful perspectives, like low-angle shots against the sky, to silhouette images with the sun behind me. These different approaches made me realize how diverse travel photography can be when you let yourself simply react to the moment.
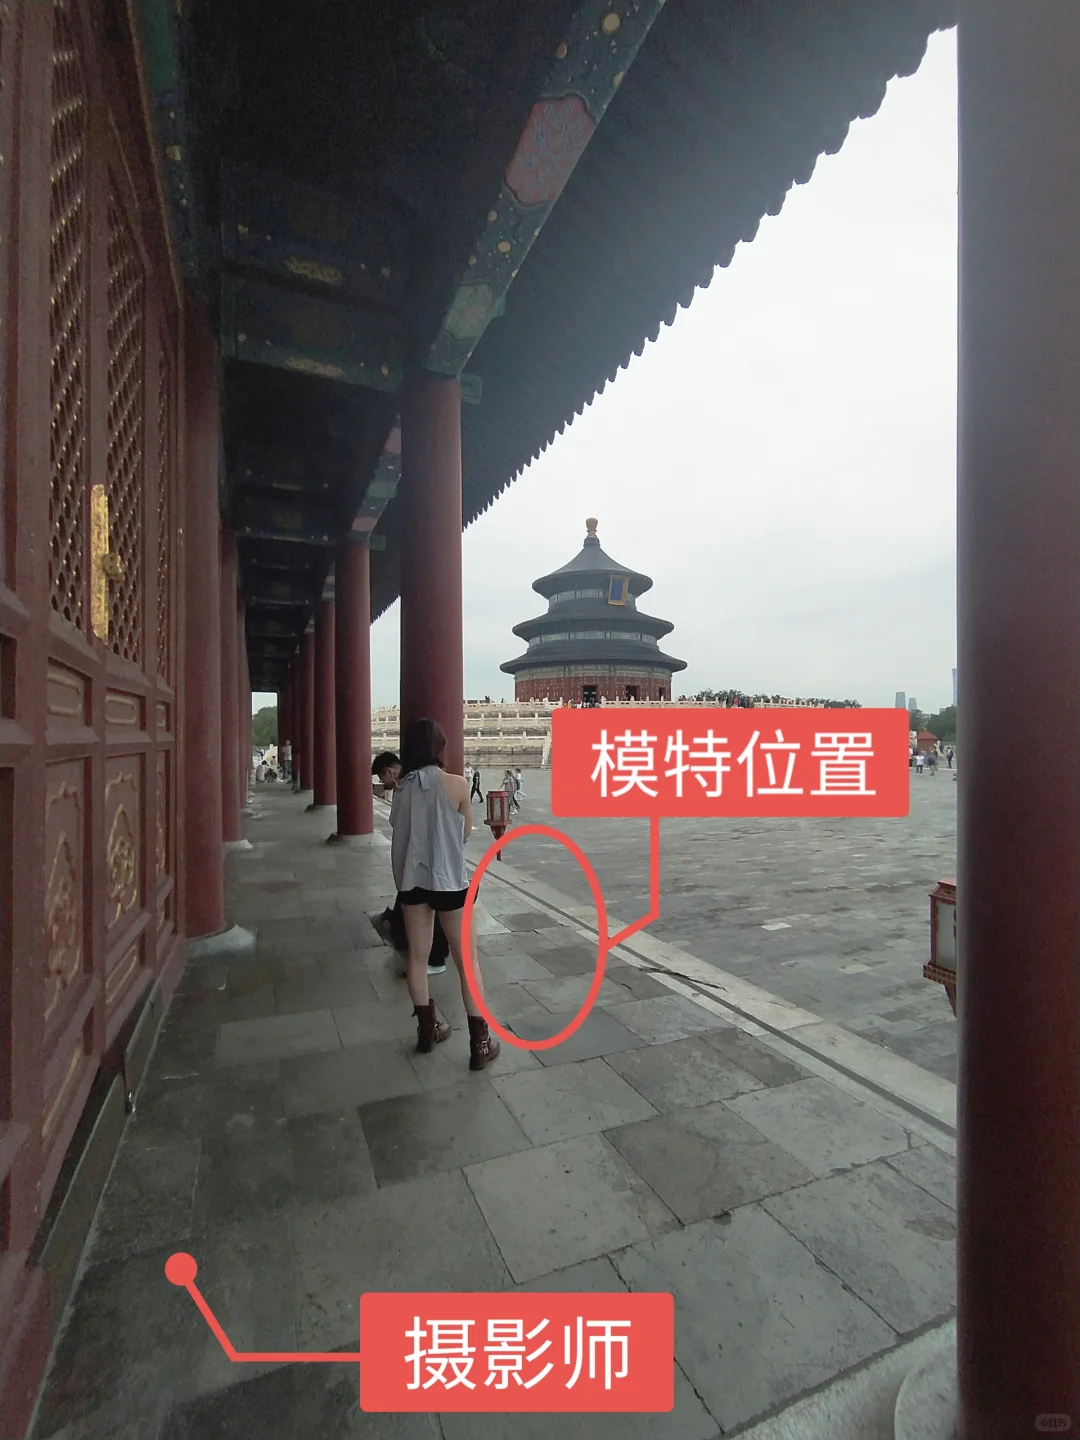
As we continued, I gained practical travel photography tips such as focusing on natural light and using local architecture creatively. The guide’s hands-on advice felt genuine and easy to apply, exactly what I needed to improve.
For those curious about scenic photo spots, this part of the journey felt like a real photo spots guide — with stops at hidden gems that weren’t crowded with tourists.
Explore our Travel Photography Basics for beginners
Midway through the experience, I was introduced to the famed 300-point tour plan. This carefully curated route combined urban charm with natural beauty, allowing us to cover a vast range of photographic styles. I appreciated how this photo spots guide balanced popular landmarks with quieter corners perfect for more intimate shots.
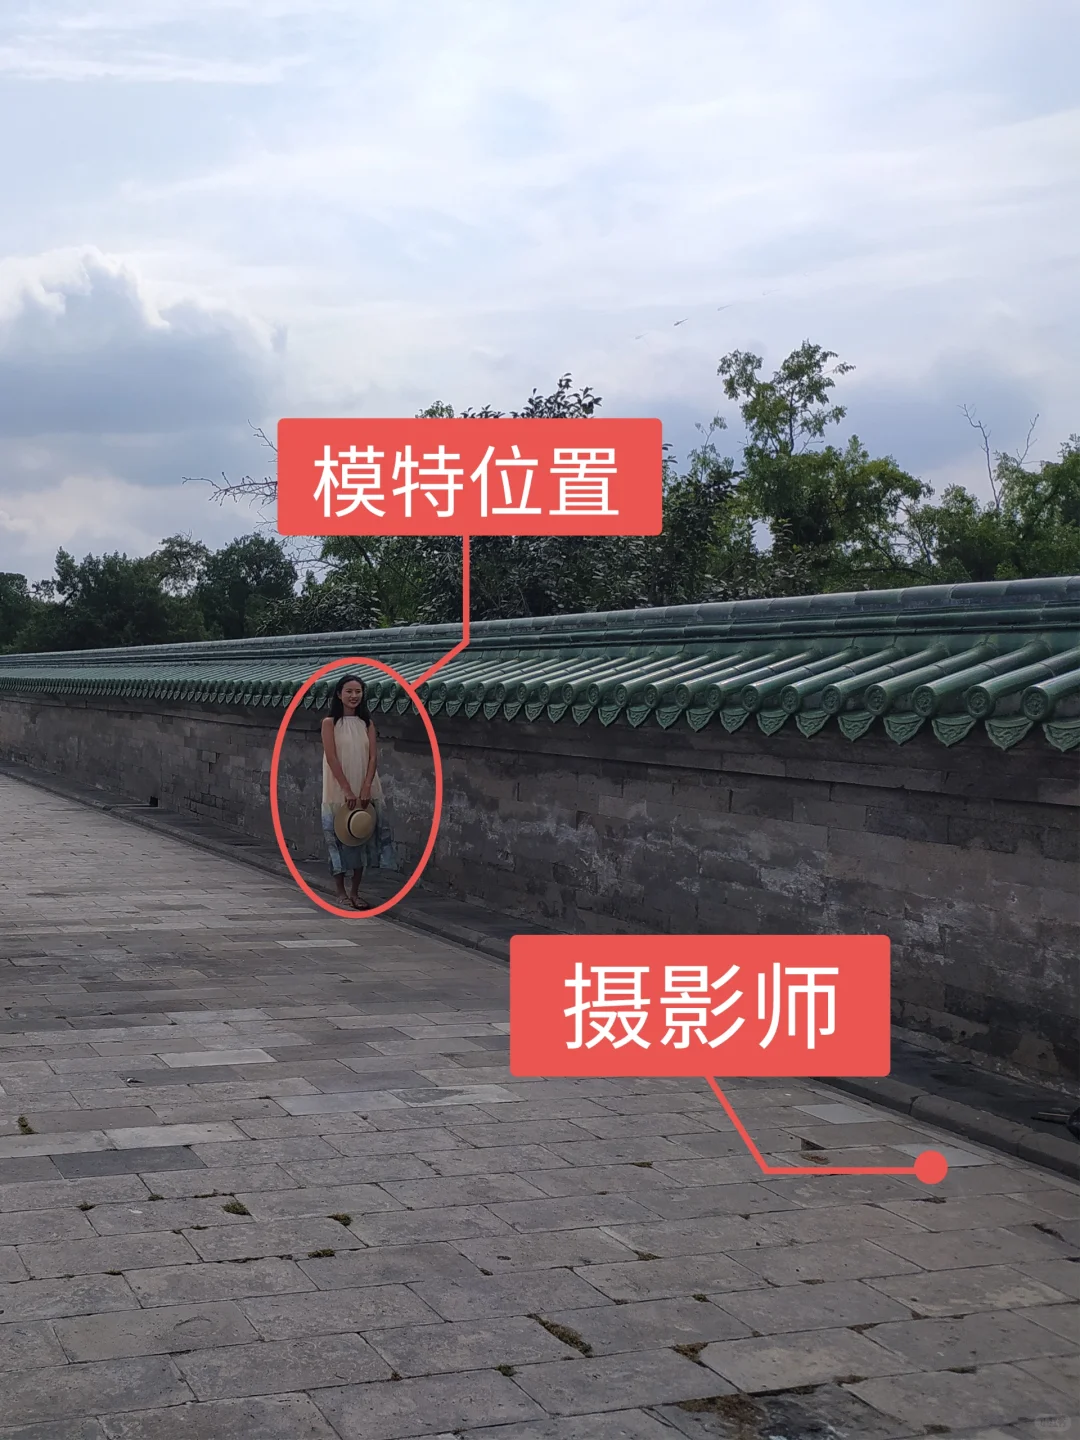
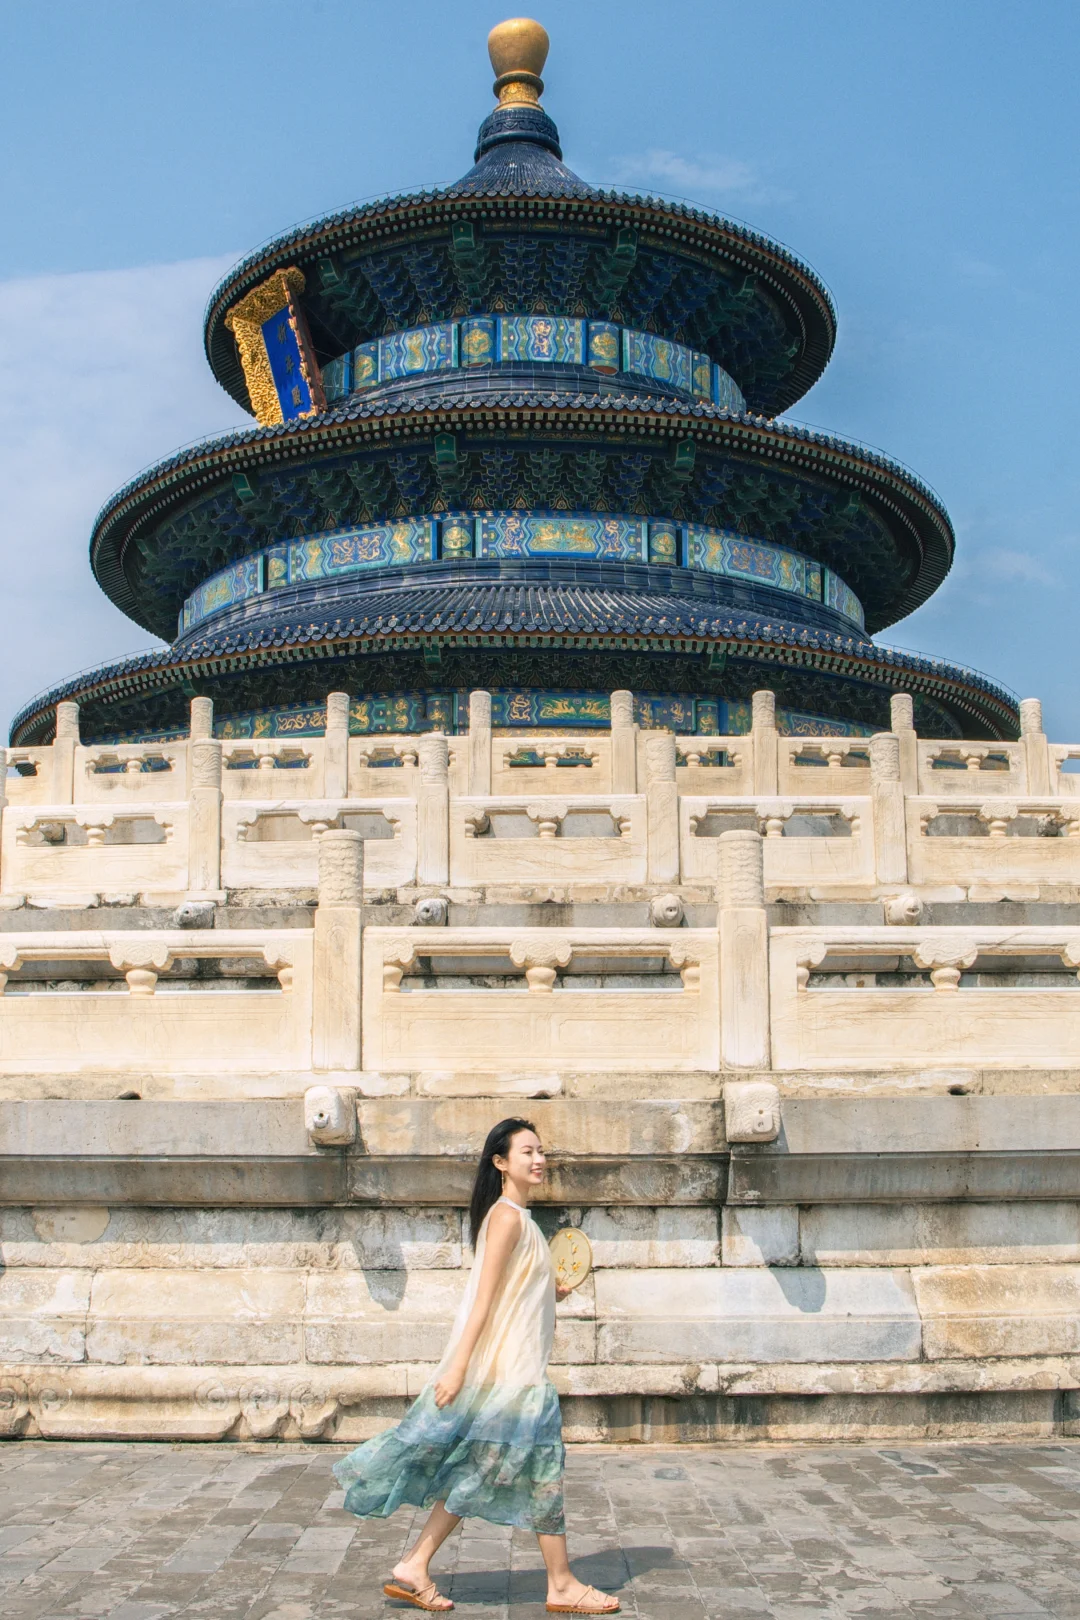
Following this plan, we captured golden hour reflections on water, wandering street scenes with vendors, and even playful portraits by colorful murals. I found the strolls both inspiring and relaxing, all while feeling supported by friendly photographers sharing their best travel photography tips.
What made the 300-point tour especially appealing was that it adapted well to different skill levels. Beginners could focus on simple compositions, while more advanced photographers experimented with shutter speed and aperture settings. This made the journey feel inclusive and encouraging.
Check out our Best Urban Photo Spots guide to find more inspiration
Perhaps the most unexpected highlight was the free photography course offered alongside the tours. The instructors were passionate and clear, sharing practical advice I hadn’t thought of before — like how to anticipate natural expressions or how to make the most of uneven lighting conditions.
This course didn’t feel like a typical classroom session. Instead, it was woven naturally into the day’s photography outings, with tips and demonstrations right where we were shooting. I began to see my surroundings differently, noticing small details and moments worthy of a shot.
Resources provided included a booklet of basic composition rules, quick-reference sheets for camera settings, and online follow-up materials. The blend of theory and practice helped cement my growing confidence with the camera as we progressed along the itinerary.
Discover more Free Travel Photography Tutorials here
Additionally, to understand the science behind light and lens optics, I explored resources from the Smithsonian Institution’s research archives, which deepened my appreciation of photography as both art and science.
By the end of the journey, I felt enriched not only by the photos but also by the welcome sense of community. Sharing this experience with like-minded travelers encouraged me to keep practicing and exploring creative travel photography tips. I realized how much more rewarding capturing travel memories becomes when you bring a thoughtful approach.
If you’re looking to elevate your travel photos, this comprehensive travel photography guide — with its encouraging photo spots guide, well-structured 300-point tour plan, and an inspiring free photography course — is a great place to start. Embracing new travel photo ideas will certainly add a fresh perspective to your adventures.
Explore essential gear and tips for travel photography here